If you are fond of headphones, you would have definitely purchased Powerbeats Pro. Well, it’s great in terms of audio quality, compatibility, features, and price.
Over some time, several users have found difficulties connecting Powerbeats Pro to Windows 10. In fact, some have even thought that Powerbeats Pro cannot work in such instances.
In this article, we shall give you a detailed guide on how to connect the headphone to Windows 10 and also answer a few other related questions.
So, How to Connect Powerbeats Pro to Windows 10?
In order to Connect Powerbeats Pro to Windows 10, you have to:
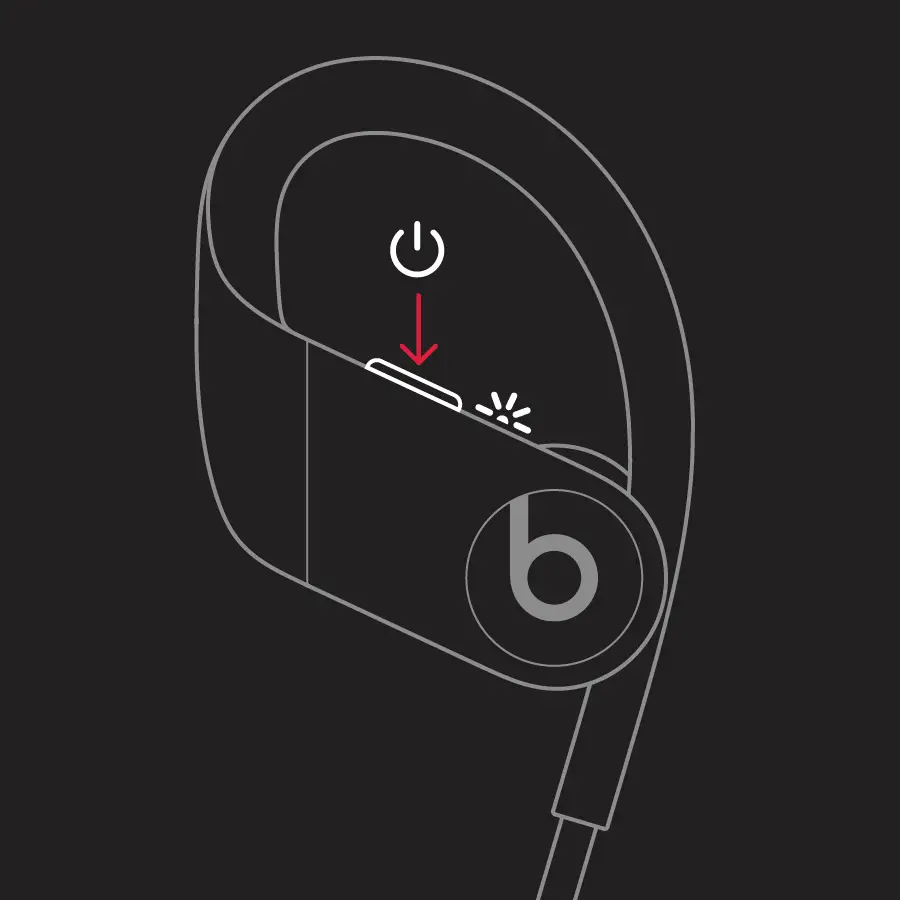
- Long press and hold Power button to turn on Powerbeats Pro.
- Open Control Panel and then select Devices.
- Select Bluetooth and turn it on.
- Allow it to search nearby devices.
- Choose Powerbeats Pro name in the list of devices and then pair.

That’s it. Your Windows 10 system and the best tws for calls 2022 i.e. Powerbeats Pro are paired.
However, here is a much more detailed version of the steps mentioned above, in case you are facing any issues following them:
Turn on Powerbeats Pro
In order to turn on your powerbeats pro, you have to:
- Long press and hold power button on headphones for a few seconds.
- Wait for headphones to flash or blink light.
Your headphone is now ready to pair with a new device (PC or laptop).
This is the primary step to enable pairing in a majority of wireless headphones.
Note. Make sure the system does not have an audio output already connected. Or, it could get confused stopping Powerbeats Pro from getting connected.
Also, if you are facing only one earbud working problem, check out our guide.
Pair Powerbeats pro and your PC
Whether you are using a PC or a laptop, the procedure to pair headphones and PC is the same.
Since Powerbeats Pro work on Bluetooth settings connectivity, all you need to ensure is that your system has a Bluetooth feature so you can pair new devices.
Follow the steps below for successful pairing.
- Press the Windows icon and search Control Panel.
- Open the panel and search for Devices.
- Choose the “Bluetooth and other devices” option so your system is ready to add a new device.
- Select Add a new device.

- If your headphone is in discoverable mode, the name should appear during the search.
- Select Powerbeats Pro headphones and wait for “Connected” or “Paired” status in bluetooth settings.
So, has Windows 10 pc got connected with Powerbeats Pro successfully? Is there a way to check the same? Well, Powerbeats Pro will stop flashing lights as soon as a successful pairing is in place. This is a way to ensure that the device is discoverable and is already connected.
Powerbeats Pro has a wonderful noise cancellation feature. It works well on multiple devices with a few steps. Make note of the two steps mentioned above and it should work forever for you. If in case you face Powerbeats Pro One Side Not Working issue, our guide will help you fix it!
How To Fix Can’t connect Powerbeats Pro to Windows 10
Sometimes you can face issues with powerbeats pro connection to Windows 10.
Here is how you can fix Fix Can’t connect Powerbeats Pro to Windows 10 issue:
- Windows 10 Bluetooth Driver is not Updated – Update it
- Powerbeats Pro is not in a discoverable state – Make it discoverable
- Check the battery level of Powerbeats pro – Charge it.
Let’s take a look at each solution in detail.
Windows 10 Bluetooth driver is not updated- How to Fix
In certain old systems, it is common to spot outdated drivers. This includes Bluetooth drivers as well. While most of the latest PCs and laptops automatically updated their audio and device drivers, some might need direct intervention.
Here are two things that you can do to update Bluetooth drivers.
- Look for Windows update notification and then see if there are any updates left for Bluetooth in the system.
- Check if Powerbeats Pro runs on an updated firmware.
Not sure how to check it properly? Here you go!
- Go to Control Panel.
- Select Device Manager.
- Under the list of devices, you can see the headphone name.
- Right-click the name and select “update driver.”
These should fix the need and let the pairing happen smoothly. Remember to purchase original headphones or you can land up in malfunctioning firmware that can stop working or connecting with another system after some point.
Note. If you are unable to update drivers, you can also take the help of an external computer service technician. It only takes for a minute but for novice, it can be a challenging task.
Powerbeats Pro is not in a discoverable state – How to fix
Wireless headphones work differently compared to wired headphones. Since the former does not operate in the plug-and-play model, it needs a bit of reboot.
To make Powerbeats Pro in discoverable mode, all you should do is to long-press and hold the power button. After 5-6 seconds, the light should start blinking. This means that it is in a discoverable state to connect.
If you do not spot any indicator light, keep in mind that the headphone is not in a discoverable connect state.
Check the battery level of Powerbeats Pro
A common mistake that we have spotted among Powerbeats Pro earbuds users is that they don’t check battery levels regularly.
If your battery level is low, pressing the Power key does not lead to a flashing light. You may have to recharge your headphone before you pair it with a PC or a laptop.
If you are using it for long hours, keep it a habit to check battery percentage every hour.
How to connect Powerbeats Pro to PC without Bluetooth?
Are you using an outdated system? Is your system still not pairing with the headphone? Well, stop thinking further! We have a solution for you.
To connect Powerbeats Pro to a Windows PC without Bluetooth, you have to:
- Purchase an external Bluetooth USB adaptor.
- Plugin the adaptor to the USB port of the system.
- The driver of the adaptor should automatically get installed.

You can now pair headphones and a Windows PC. Simply long-press the power button on headphones and connect to your laptop or Windows PC.
The advantage is that this method works for Windows laptops as well. Irrespective of the operating system (OS) version you use, an external Bluetooth settings adaptor still does magic and lets you enjoy listening to music seamlessly.
Can you pair Powerbeats Pro with an Android device?
Pairing Powerbeats Pro and Android device is much more feasible and follows the usual procedure meant to pair any other device.
Here is how you can pair powerbeats pro with your Android device:
- Go to Settings on your android device.
- Select Bluetooth and turn it on.
- Tap on “Add a new device”.
- Look out for the name of the headphone and tap on it.
You should see that the status gets updated to “Connected” or “Paired”.
The only issue with this headphone model is that it doesn’t get connected to certain Apple devices at the moment. The compatibility should work soon letting Apple users use Powerbeats Pro earbuds on their devices without any hassle.
Since Powerbeats manufacturers are already selling their latest versions, it is a good idea to check if you can connect headphones with iPhone or Mac before you actually explore other solutions.
Conclusion
The user base of Powerbeats Pro earbuds is getting bigger and bigger. Perhaps, easy configuration and amazing product features are two reasons for people to choose this headphone.
In this article, you might have gone through the easiest way to connect Powerbeats Pro to Windows 10 pc. There were a few other hacks mentioned to help you with troubleshooting whenever something goes wrong.
Before you go further, simply update audio device drivers and the connection should happen instantly, irrespective of the type of device you use to pair with headphones.