New PC Build: Installing Windows 11 from USB
Building a new PC is an exciting venture, offering you the chance to customize your machine to your exact specifications. Once the hardware is assembled, it’s time to breathe life into it by installing an operating system. Windows 11, Microsoft’s latest OS, brings an array of features that enhance both usability and aesthetics. This comprehensive guide will walk you through the steps of installing Windows 11 on a new PC, whether it already has an operating system or is a blank slate. We’ll explore different installation methods, including using a bootable USB, direct installation, and disk cloning. Additionally, we’ll cover how to effectively run essential tools like MiniTool ShadowMaker and MiniTool Partition Wizard for seamless OS migration. Let’s delve into the process and ensure your new system runs smoothly with Windows 11.
How to Install Windows 11 on New PC with an OS
Move 1: Create Windows 11 Installation Media
Before proceeding with the installation, creating a Windows 11 installation media is an essential first step. Begin by downloading the Windows 11 Installation Media Creation Tool from the official Microsoft website. This tool is a user-friendly application designed to guide you through creating a bootable USB drive. You’ll need a USB flash drive with at least 8GB of space. Once the tool is downloaded, launch it, and follow the step-by-step instructions to prepare your bootable media. This process involves downloading the Windows 11 image and transferring it onto your USB flash drive.
It’s important to ensure your USB drive is empty, as all existing data will be erased during the process. The creation of the installation media might take some time, depending on your internet speed and the performance of your computer. Once complete, you will have a USB drive ready with the Windows 11 setup files, allowing you to install the operating system on your new PC.
Move 2: Boot New PC from Bootable USB Drive
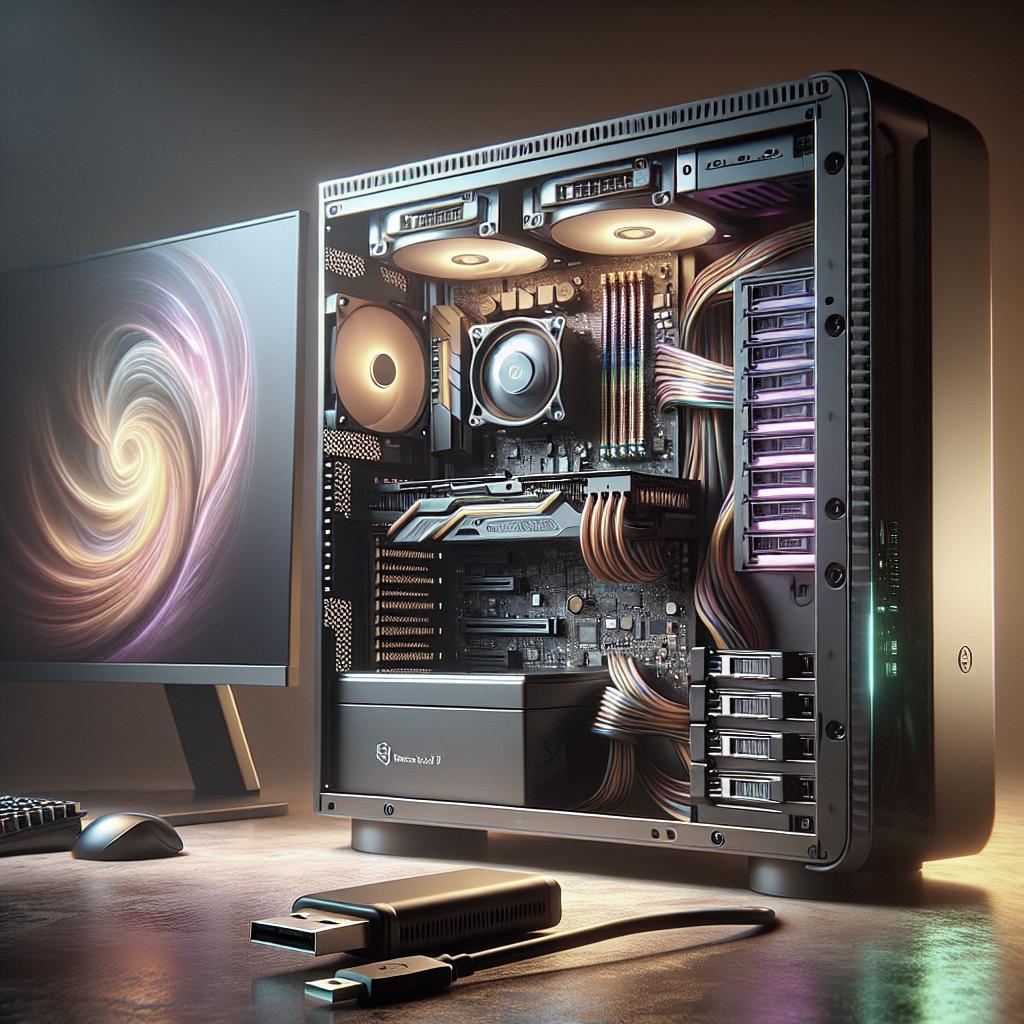
With your Windows 11 installation media prepared, it’s time to boot your new PC using the bootable USB drive. Start by inserting the USB drive into a USB port on your computer. Turn on or restart the PC and enter the BIOS/UEFI settings by pressing the appropriate key (such as F2, F12, DEL, or ESC) during startup. Each motherboard may have a different key for entering BIOS, so refer to your motherboard’s documentation if needed.
Inside the BIOS/UEFI settings, locate the boot order/priority menu and set the USB drive as the primary boot device. Save the changes and exit the BIOS. The PC will reboot, and if configured correctly, it will boot directly from the USB drive, launching the Windows 11 installation process. Follow the on-screen instructions to proceed with the installation, including selecting your preferred language, time, and keyboard preferences.
Move 3: Install Windows 11 on New PC
After successfully booting from the USB drive, you’ll enter the Windows Setup interface. Click ‘Install Now’ to begin. During the setup, you’ll be asked to enter your Windows 11 product key. If you don’t have one at the moment, you can select the ‘I don’t have a product key’ option and proceed. Choose the edition of Windows 11 that matches your license or preference.
Next, select the installation type. Choose ‘Custom: Install Windows only (advanced)’ for a fresh installation. On the next screen, delete any existing partitions if necessary, or select the partition where you’d like Windows 11 installed. The installer will then copy Windows files and install the operating system. This process can take several minutes. Once complete, your PC will restart several times during the setup. Finally, you’ll be guided through initial configuration steps, such as setting up a user account and preferences, before reaching the Windows 11 desktop.
How to Install Windows 11 on New PC Without Operating System
Installing Windows 11 on a new PC lacking an operating system is straightforward, thanks to the bootable USB drive. Begin by verifying that all your PC components are assembled and connected correctly. Insert the bootable USB drive prepared with the Windows 11 installation media into a USB port. Turn on the PC, and it should automatically boot from the USB drive. If not, you’ll need to enter the BIOS/UEFI to adjust the boot sequence.
Once the Windows setup launches, follow the same steps as installing on a system with an OS. Select your language, time, and keyboard options, then click ‘Install Now’. Enter your product key or choose to skip this step temporarily. Ensure you select the ‘Custom: Install Windows only (advanced)’ option for a clean installation. Allocate partitions and proceed with the installation process. This setup is similar to installing on a PC with an existing OS, involving file copying, system restarts, and initial configuration steps before reaching the Windows 11 desktop.
How to Install Windows 11 on New PC via Disk Cloning/OS Migration
Run MiniTool ShadowMaker
Disk cloning or OS migration is an alternative method to install Windows 11 on a new PC without going through the traditional installation process. Using MiniTool ShadowMaker, a reliable backup and sync tool, you can clone your existing system drive to a new drive. Start by connecting both drives to the same PC. Launch MiniTool ShadowMaker and navigate to the Clone Disk feature.
From this interface, select the source disk (your current system drive) and the target disk (the new drive). The tool will copy all data, including the operating system, settings, and files, to the new drive. Ensure the target disk is large enough to accommodate the data from the source disk. Follow the on-screen prompts to begin the cloning process. Once completed, you can install the new drive into your new PC, booting directly into your existing Windows setup—now upgraded to Windows 11.
Run MiniTool Partition Wizard
To ensure that your cloned drive is properly configured, you may want to use MiniTool Partition Wizard to manage partitions. This tool can optimize drive classification, resize existing partitions, and more, further refining your system’s configuration. Begin by connecting the cloned drive to a working PC, then launching MiniTool Partition Wizard.
Use the software to align partitions, check the disk for errors, or allocate more space to a system drive if needed. These adjustments not only ensure that Windows 11 functions well but also maximize the performance of your new PC. After fine-tuning the drive, install it back into your new build. Boot the PC and everything should be in place, functioning smoothly with the recently migrated Windows 11 OS.
Final Words
Embarking on a new PC build journey and installing Windows 11 from a USB can be a fulfilling endeavor, especially when approached with thorough preparation. By following the outlined methods, whether direct installation via bootable media, or opting for disk cloning, you’ve equipped yourself with versatile strategies for setting up Windows 11. Leveraging tools like MiniTool ShadowMaker and Partition Wizard ensures a smooth transition and optimized hardware usage. The flexibility to choose between traditional installation and cloning gives users control over how they prefer to initiate their PC experience. As you enjoy the new features and enhanced capabilities of Windows 11, remember that successful installation also hinges on knowledge, patience, and precision.
About The Author
Sarah Lambert is a seasoned copywriter with a passion for technology, popular culture, and the art of writing. With over a decade of experience in the media industry, she has served as editor-in-chief and has a keen eye for detail and project management. Sarah is adept at simplifying complex topics for diverse audiences, ensuring clarity and engagement. Her love for psychology adds depth to her understanding of user needs and trends, making her content not only informative but insightful. Sarah aspires to further her career in editorial management while staying abreast of digital innovations. When she’s not crafting compelling stories, you can find her exploring the world of cutting-edge tech advancements.
Summary of Main Points
| Section | Description |
|---|---|
| Installation with OS | Covers preparing bootable media, booting from USB, and installation steps. |
| Installation without OS | Guides direct installation on a new PC without a pre-existing operating system. |
| Disk Cloning/OS Migration | Explores cloning existing OS to a new drive using MiniTool ShadowMaker and refining with Partition Wizard. |
| Final Words | Synthesizes methods discussed, emphasizing preparedness and flexibility. |