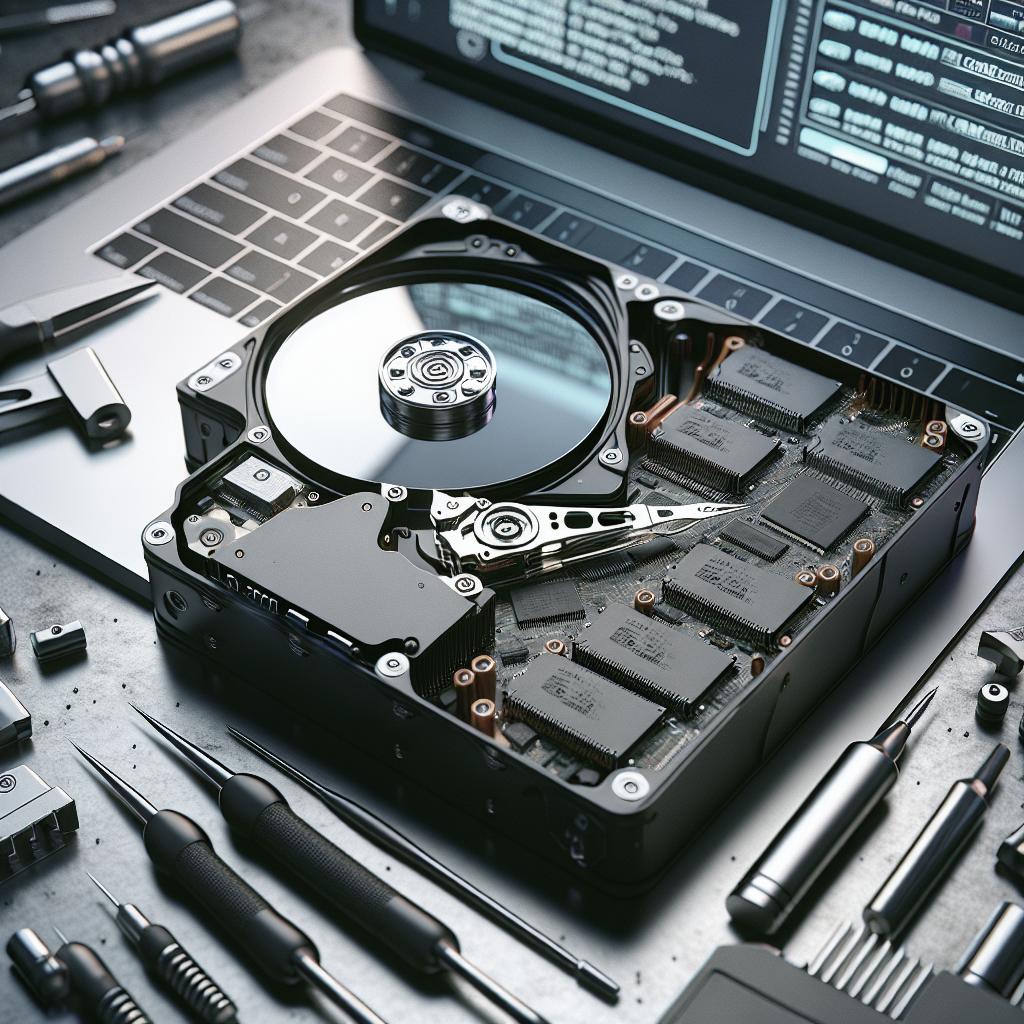
Formatting a Hard Drive Using Command Prompt: A Step-by-Step Guide
Formatting a hard drive can seem like a daunting task, especially for those who might be new to technical procedures. However, using the Command Prompt to format a drive offers an efficient and straightforward method. This guide will walk you through a step-by-step process to safely and effectively format a hard drive using Command Prompt. We will cover everything from opening Command Prompt as an administrator, selecting the appropriate disk, and assigning a drive letter, to finally completing the formatting process. By following these instructions, you will not only reclaim space on your drive but also enhance your computer’s performance. With each step clearly explained, you’ll find that formatting a hard drive is more accessible than you might have imagined.
STEP 1: Open Command Prompt As Administrator
The first step in formatting your hard drive via Command Prompt is opening the tool as an administrator. This is crucial because administrative privileges are necessary to perform changes on system operations, such as disk formatting. Start by typing “cmd” in the Windows search bar. When the Command Prompt app appears in the results, right-click on it, and select “Run as administrator.” A User Account Control (UAC) prompt may appear, asking for permission. Click “Yes” to proceed.
Opening Command Prompt with administrative rights ensures you have the required permissions to access and modify the system’s storage configurations. Without these permissions, formatting operations will be restricted, potentially leading to errors or incomplete tasks. Taking the time to verify your access level at this stage can save valuable troubleshooting time later in the process.
STEP 2: Use Diskpart
Once you have the Command Prompt open with administrative privileges, the next step is to use a powerful disk configuration tool called Diskpart. Diskpart allows you to manage your system’s drives efficiently, offering commands to delete, create, and format disk volumes. In the command prompt, type “diskpart” and press Enter to launch the Diskpart utility. You should see a new command line interface exclusive to this tool.
Using Diskpart offers more control over disk management compared to standard GUI-based tools because it runs at a lower level and can perform tasks that other tools might restrict. This utility is especially useful for advanced tasks, such as configuring new drives and preparing them for use. Pay careful attention when employing Diskpart as it can make significant changes to your system.
STEP 3: Type List Disk
After entering Diskpart, the next step is to view all the disks connected to your computer. The “list disk” command is essential for this task, as it presents a detailed list of all available drives. By typing “list disk” and pressing Enter, you will receive a numbered list of disks with information about their status, size, and free space.
This step is vital for confirming which drive you need to format. It provides a clear overview of each disk, helping you avoid selecting the wrong one. Mistaking one disk for another can lead to unintended data loss, highlighting the importance of identifying your desired drive accurately.
STEP 4: Select the Drive to Format
Once you have identified the correct disk from the Diskpart list, you need to select it for the formatting process. This is done using the “select disk” command followed by the disk’s number. For instance, to choose disk 1, you would type “select disk 1” and press Enter. The command line will confirm your selection by displaying a message indicating that the specified disk is now the focus.
At this stage, double-check that you have chosen the correct disk. Accidental selection of the wrong disk could result in formatting a drive that contains essential data. Remember, Diskpart will perform actions only on the selected disk, so ensuring precision at this point is crucial for maintaining data integrity on other drives.
STEP 5: Clean the Disk
Cleaning the disk is an essential preliminary step before formatting. It removes all existing data, partitions, and configurations from the selected drive, providing a clean slate for a new file system. In Diskpart, type the command “clean” and press Enter. This command will delete any and all configurations on the disk, noting that this operation is irreversible and leads to complete data loss on the disk.
The “clean” command effectively prepares the drive for new data, ensuring that no lingering partitions or sectors affect future use. It is particularly useful when re-purposing old drives or setting up a disk for a fresh operating system installation. Always back up important files before using the clean command to avoid permanent data loss.
STEP 6: Create Partition Primary
After cleaning the disk, the next operation is to create a new primary partition. To do this, use the “create partition primary” command in Diskpart. A primary partition is necessary for modern operating systems to function correctly, as it designates a part of the drive to hold the system and user data.
This command instructs Diskpart to carve out a primary partition within available space on the disk, setting the stage for a file system to be written. Creating a primary partition is a foundational step in preparing your disk, ultimately resulting in a structure ready for formatting and data storage.
STEP 7: Format the Drive
Now that you have a primary partition created, the formatting process can initiate. The “format” command requires an additional parameter specifying the file system you wish to use. For example, you can type “format fs=ntfs” to use the NTFS file system, commonly used in Windows environments. Press Enter after writing the command to start formatting.
Formatting the drive sets up a file system, essentially organizing space on your disk for file storage and retrieval. This process may take some time, depending on the size and speed of your drive. Once complete, the drive will be ready to store files in the newly assigned file system, ensuring efficient data management and retrieval.
STEP 8: Assign a Drive Letter
The final step in the formatting process is assigning a drive letter, making the formatted disk accessible to the Windows operating system. Without a drive letter, the disk remains invisible. In Diskpart, you can use the command “assign letter=X”, replacing ‘X’ with your desired letter.
Assigning a drive letter is crucial for usability, as it enables the operating system and users to identify and access the drive through the file explorer. This step marks the end of the disk preparation process, after which the newly formatted drive is fully operational for storing data.
Stay On the Cutting Edge: Get the Tom’s Hardware Newsletter
To remain updated on the latest technological advancements and tips for maximizing your computer’s potential, consider subscribing to Tom’s Hardware newsletter. As technology evolves, staying informed can be your best ally in maintaining and improving your device’s performance.
With regular insights into cutting-edge hardware and software trends, this newsletter offers invaluable knowledge to both novice users and tech enthusiasts. Subscribing opens up a world of information on best practices, troubleshooting advice, and product reviews that can help guide your future tech decisions.
Summary of Main Points
| Step | Description |
|---|---|
| Open Command Prompt | Begin by running Command Prompt as an administrator for the needed privileges. |
| Use Diskpart | Enter the Diskpart tool within the Command Prompt to manage disk operations. |
| List Disk | View all connected disks to identify the one intended for formatting. |
| Select Disk | Use the select command to focus actions on the chosen disk to be formatted. |
| Clean Disk | Clear the disk of all data and partitions to prepare for a new file system. |
| Create Partition Primary | Create a primary partition for system and data storage functionalities. |
| Format Drive | Initiate drive formatting by choosing the appropriate file system. |
| Assign Drive Letter | Assign a letter to the newly formatted drive for system accessibility. |