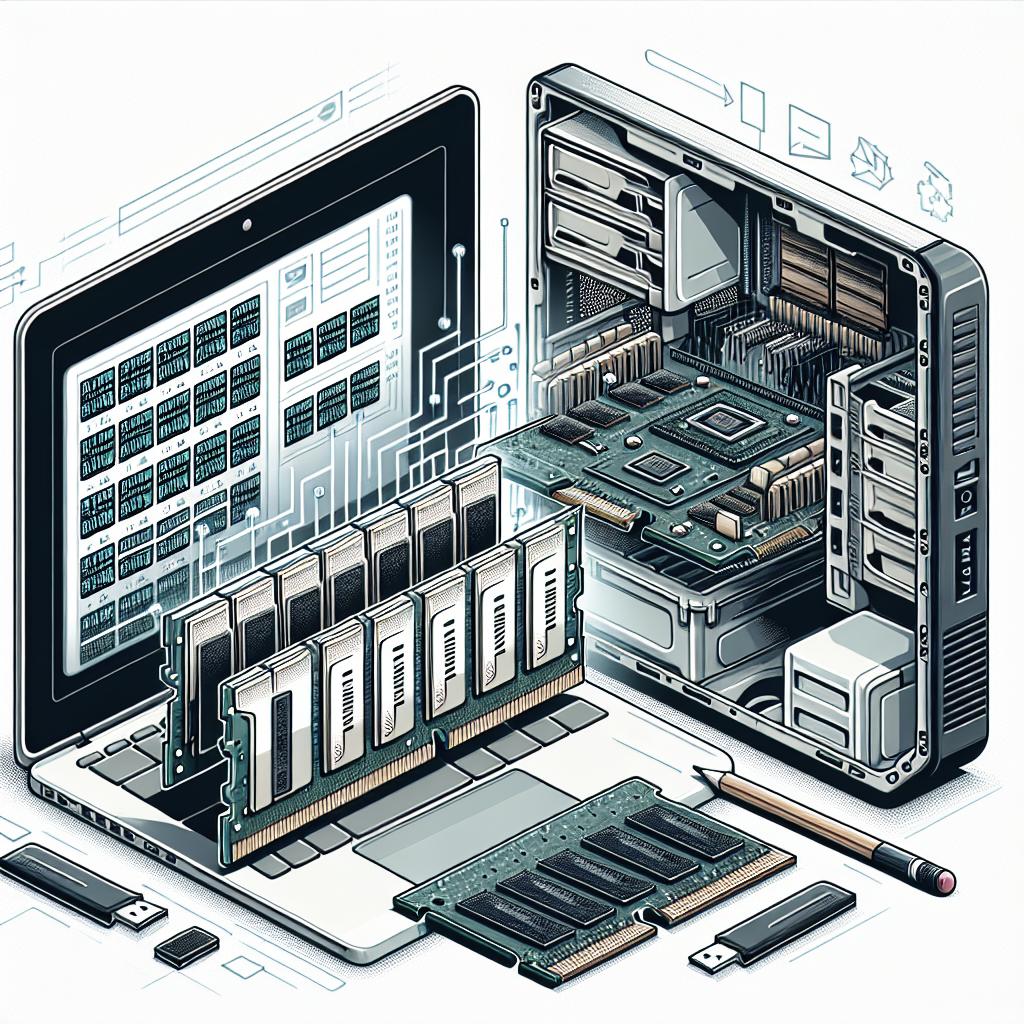
How to Update the BIOS on an ASUS Motherboard Without a CPU
Updating the BIOS on a motherboard can enhance system stability and provide support for new hardware. For those using ASUS motherboards, you can perform this update without the need for a CPU by using BIOS Flashback, a feature many ASUS boards support. In this guide, we’ll explore the BIOS Flashback process, covering the types of USB drives you should use, and providing a detailed step-by-step procedure. Additionally, we’ll discuss troubleshooting tips and address common questions about the BIOS Flashback process, ensuring a smooth update experience. By the end, you’ll be equipped with the knowledge to not only update your BIOS confidently but also understand the intricacies of this essential PC maintenance task.
What Is BIOS Flashback?
BIOS Flashback is a convenient feature offered by ASUS and some other motherboard manufacturers, allowing users to update the BIOS without a CPU installed. This feature is particularly beneficial when your current BIOS version does not support your CPU, potentially leaving you without a visible display to install the necessary update. BIOS Flashback provides a simple solution, bypassing these compatibility issues entirely by enabling direct updates to the BIOS chip on the motherboard using only a USB drive and a power supply.
The utility is highly valued in the tech community for its ability to bring motherboards up to date quickly, ensuring they can accommodate new processors right out of the box. This feature is accessible via a dedicated button on the motherboard itself, often accompanied by an LED to indicate the status of the process.
What Type of USB Drive Should I Use for BIOS Flashback?
The type of USB drive you use is crucial for a successful BIOS Flashback operation. It’s generally recommended to use a USB 2.0 drive rather than USB 3.0 or higher, as older systems may not recognize the latter. A simple, reliable USB 2.0 drive with a capacity between 1GB and 16GB is ideal, ensuring compatibility and avoiding any undue complications during the update process.
Make sure the USB drive is free from any additional software or files. Ideally, it should be newly formatted to FAT32, as this file system format is universally recognized by most motherboard BIOS, facilitating the smooth transfer of the update files. Avoid using USB drives that are partitioned or have multiple file systems, as these can confuse the BIOS recognition process.
How To Update the BIOS Without a CPU (Step-by-Step)
Step 1. Find Your Motherboard on the Official Manufacturer’s Website
Start by identifying the specific model of your ASUS motherboard. The model number is usually printed on the motherboard itself or can be found in the original packaging or documentation. Once you have this information, visit the official ASUS website and navigate to the support section. Enter your motherboard model number in the search bar to find the relevant product page.
On the product page, you’ll find different support resources, including BIOS updates. Make sure you select the exact model and revision of your motherboard to avoid downloading an incompatible BIOS update, which can lead to serious hardware issues.
Step 2. Download the Newest BIOS Update
After locating the motherboard’s product page, search for the ‘BIOS’ tab among the available resources. Here, you’ll find a list of all BIOS updates available for your motherboard model. Download the latest update, which will often include enhancements, bug fixes, and support for newer CPUs.
The update will typically be downloaded as a compressed ZIP file. Save this file to a location on your computer where you can easily access it for extraction. Be sure to read any accompanying release notes, as they may contain specific instructions or additional considerations regarding the update.
Step 3. Extract and Rename the BIOS File
Once downloaded, extract the contents of the ZIP file using a file extraction utility such as WinRAR, 7-Zip, or the built-in Windows Extractor. Inside, you’ll find the BIOS update file, which often has an extension like ‘.CAP’. This file is the one that you need to transfer to your USB drive.
It’s crucial to rename the .CAP file to match the name required by the BIOS Flashback feature. This name is usually specified in the motherboard’s manual or on the manufacturer’s website under the BIOS section. Correctly renaming the file ensures that the BIOS Flashback tool will recognize and load the update.
Step 4. Format the USB Drive As FAT32 and Add BIOS File
Insert the USB drive into your computer and initiate the formatting process by right-clicking on the drive icon in ‘My Computer’ or ‘File Explorer’. From the context menu, select ‘Format’, choosing the ‘FAT32’ file system from the dropdown menu, and click ‘Start’. Formatting deletes all data on the drive, so ensure it’s empty or that you’ve backed up important files before proceeding.
After formatting is complete, drag the renamed BIOS file directly onto the USB drive. Ensure the file is placed in the root directory of the drive—that is, not inside any folders. Correct placement is vital, as the BIOS Flashback tool accesses files located at the root level.
Step 5. Safely Eject USB Drive
Once you’ve transferred the renamed BIOS file to the USB drive, safely eject the drive from your computer to prevent file corruption. You can do this by right-clicking the USB drive icon in ‘File Explorer’ and selecting ‘Eject’. Make sure that the ‘Files in Use’ warning doesn’t appear, which could indicate the file hasn’t been fully written to the USB.
Waiting for the ‘Safe to Remove Hardware’ notification ensures that all data has been appropriately written to the USB drive, protecting the integrity of your BIOS update file during the upcoming critical steps.
Step 6. Connect Your Power Supply Unit (PSU)
To power your motherboard through the BIOS Flashback process, connect your power supply unit (PSU) to the motherboard. Double-check that all ATX power connectors are securely attached, and ensure the PSU is plugged into a viable power source.
Power is essential for the BIOS update process, but ensure that nothing else is connected to the motherboard – no CPU, RAM, or other components are necessary for this procedure. This minimal setup reduces the potential for hardware conflicts during the update.
Step 7. Insert USB Drive and Press BIOS Flash Button
Locate the USB port dedicated for BIOS Flashback on the motherboard’s I/O panel and insert your prepared USB drive. Once inserted, find the BIOS Flash button on your motherboard. The button’s location and appearance vary by model, but it’s typically labeled and near the USB port or power connections.
Press and hold the BIOS Flashback button for around three seconds until the LED begins to blink. The flashing light indicates that the BIOS update process has started. This process can take several minutes, so be patient and avoid interrupting the power supply during this time, as this can lead to a failed update or potentially damage the BIOS chip.
Step 8. Confirm the Update Worked and Remove USB Drive
The LED light associated with the BIOS Flash button will stop blinking once the update is complete. This signifies a successful BIOS update. If you encounter continuous blinking or no light activity, refer to the troubleshooting section to resolve potential issues.
Remove the USB drive from the port after confirming the update. At this stage, your motherboard should now support all components, including newer CPUs if that was the original barrier. Proceed to assemble the rest of your system or boot into the BIOS to verify your settings and confirm the update details.
How Long Should The BIOS Update Take?
The duration for a BIOS Flashback update can vary, depending on the size of the update file and the specific motherboard model. Generally, this process can take anywhere from a minute to ten minutes. Patience is critical during this stage, as interrupting the update can lead to issues that might require professional resolution.
If the LED continues to blink beyond fifteen minutes, this may indicate a problem with the USB drive or the BIOS file itself. Before attempting another update cycle, check the integrity of the downloaded file, ensure the USB drive is functioning correctly, and verify all steps were followed accurately.
Troubleshooting Steps
If the BIOS update does not complete successfully, first double-check that the USB drive is formatted correctly as FAT32 and that the BIOS file is named and placed in the root directory as specified by ASUS. Issues often arise from improperly formatted drives or incorrect file placements.
If your update still fails, consider using another USB drive, ideally one that is known to be reliable. Also, ensure the downloaded BIOS file matches your exact motherboard model, and verify power connections from the PSU for consistency. If these steps do not resolve the issue, consult ASUS support forums or contact their technical support for further assistance.
Future Prospects
BIOS Flashback capabilities have revolutionized the way users can interact with and update their hardware, offering convenience and flexibility without the need for a complete system assembly. These features are continuously improved, making motherboards more user-friendly and reducing the technical barriers for the DIY enthusiast.
Informed users can exploit this feature to keep their systems up-to-date with minimal downtime and the least amount of effort, paving the way for a hassle-free experience. As technology advances, it is expected that such utilities will become even more intuitive, further simplifying system management and enhancing overall user satisfaction.
| Steps | Description |
|---|---|
| Step 1 – Find Your Motherboard | Locate your motherboard model and access the manufacturer’s website for support and resources. |
| Step 2 – Download Latest BIOS | Download the most recent BIOS update to enhance system compatibility and address known issues. |
| Step 3 – Extract and Rename File | Extract and rename the BIOS update to ensure recognition by the BIOS Flash system. |
| Step 4 – Format USB and Add File | Prepare your USB drive with FAT32 formatting, then transfer the BIOS file to it. |
| Step 5 – Safe Ejection | Safely eject the USB to prevent file corruption during the update process. |
| Step 6 – Connect PSU | Establish power connections necessary for executing the BIOS update. |
| Step 7 – Initiate BIOS Flash | Start the update using the BIOS Flash button on the motherboard. |
| Step 8 – Confirm and Eject USB | Verify the update’s completion via LED indicators and remove the USB drive. |
FAQ
Is the BIOS Flash Process Complete When the Flash BIOS LED Stops Blinking?
Yes, the bios LED no longer blinking indicates that the BIOS update process is complete. At this point, you can safely proceed with assembling your computer or configuring your system settings. Always double-check the BIOS version in the system settings to confirm the update’s success.
What if My Motherboard Doesn’t Offer BIOS Flashback?
If your motherboard does not support BIOS Flashback, you’ll need a compatible CPU, RAM, and a graphics card for typical BIOS update procedures. In such cases, borrowing a compatible CPU from a friend or seeking assistance from a service center can be alternatives worth considering.
Over to You
Armed with these insights and steps, updating your ASUS motherboard’s BIOS without a CPU is simplified and achievable with relative ease. Have any tips or questions? Join our discussion or explore more handy guides that can further improve your DIY projects and computing endeavors.
More Articles from CGDirector
-
How to Overclock Your CPU for Maximum Performance
-
Understanding RAM Timings and Their Impact on System Speed
-
Choosing the Right Motherboard for Your Gaming PC