
Are you experiencing annoying snapping sounds coming from your headset? Can you hear the utterly disturbing background white noise as well? If the aggravating static noise is troubling you, you have come to the right place. Read on to learn how to get rid of static noise in headphones.
A while ago, my Xbox One headset got static noise that seriously ruined my gaming experience. I looked up the problem online and found that there were many fixes for this issue. However, they all come down to figuring out what the source is.
There are many causes of static noise, ranging from wrongly positioned devices, poorly maintained equipment, and outdated software to malfunctioning hardware. Below, I have listed the most common sources of static sound and tricks on how to fix the issue.
Check Your Hardware

Separate the Cables
First of all, reorganize the cords connecting peripheral devices to your computer. Wires carry signals that can interfere with each other, and that can cause buzzing, humming, or background noise on audio devices. When your headphone cords come into contact with other cables, it can result in static noise on your headset.
Switch Audio Jacks
If you are in the middle of a conference call or need an emergency fix for the static noise problem, try plugging your device in an alternative jack. If you usually use the front jack, try the rear one. Alternatively, check if your speakers have an audio jack to avoid plugging the headphones in the back. Hopefully, that will solve the issue temporarily until you find the root of the problem and fix it permanently.
Keep Bluetooth Headphones Away From Other Appliances
It frequently happens that neighboring home appliances interfere with Bluetooth headsets. That occurs because Bluetooth headphones use similar frequencies as other wireless devices. As a result, the overlapping bandwidths cause static noise in your Bluetooth headphones.
So move your cordless phone, wireless router, and other wireless devices away from your headphones one at a time. That will help you figure out which one is causing the problem and whether moving it resolves the issue.
Clean the Equipment
Sometimes, all it takes for your equipment to work properly is to tend to it regularly. So make sure you wipe the dust from both inside and outside of your PC often. Excessive dust buildup around your sound card may cause it to malfunction, overheat, and produce unwanted background headphone noise as a result.
Clean the Jacks
Try not to disregard your audio jacks, and clean them frequently as well. It is not uncommon for the dirt trapped inside to be the cause of the static noise. Therefore, before rushing to buy new headphones, try cleaning the jacks. Luckily, you can do this in a few easy steps.
What you will need:
- Isopropyl Alcohol (99 percent pure)
- Cotton swabs
Pro Tip: High alcohol content means quicker drying time, so I suggest using a 99% alcohol solution. You can use it to clean most of your equipment without having to worry about moisture damage as the liquid will evaporate almost instantly.
Step 1: The first and foremost thing you need to do whenever you perform cleaning and maintenance of your hardware is to turn off your computer and disconnect the power cord from the electrical socket.
Step 2: Dip a cotton swab in the alcohol, and then drain the excess liquid so that the tip is moist, not soaked. That will allow the alcohol to evaporate quickly and prevent it from dripping on your computer.
Step 3: Gently insert the tip of the cotton swab in the headphone jack and move it back and forth to clean it thoroughly.
Step 4: Repeat the process using several cotton swabs until the tip comes out completely clean. Leave it to dry for a couple of minutes, and continue to use your headset static-free.

Update Your Gadgets
Install a New Sound Card
If you are using an inexpensive sound card or if your computer’s integrated one is not good enough, chances are it is causing the static in your playback. In that case, replacing it with a new, dedicated sound card will solve the problem. Fortunately, you can do it yourself if you follow the steps below.
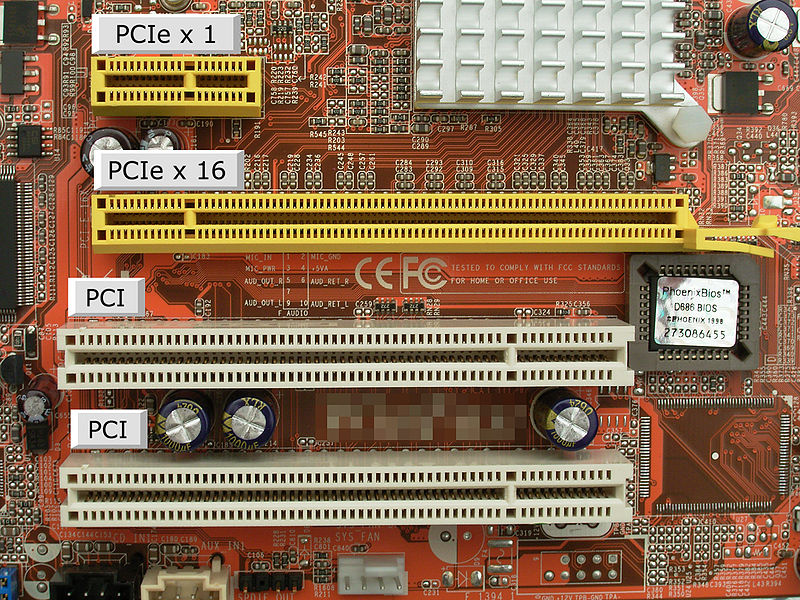
Step 1: Check whether your computer’s motherboard has a PCI or PCI Express slot to find out which card will fit in it.
Step 2: Once you have bought the card and are ready to insert it, make sure to shut down your system and unplug the power cords before you open the computer case.
Pro Tip: Since our bodies carry a lot of static electricity, you need to discharge it by touching an unpainted metal object before you start working on the internal components of your PC. Otherwise, you risk damaging or destroying the computer’s motherboard. In fact, you have to do that again, even if you briefly walk away from the computer, such as to grab something you may have forgotten.
Step 3: Remove the screw holding your current sound card, take the audio lead out of it, and pull the card out.
Step 4: Take your new sound card out from its anti-static packaging and insert it gently in the corresponding slot. Make sure that it is placed properly and firmly fixed.
Step 5: Secure the sound card to the computer’s frame with the screw, close the case, and then plug the computer and the external devices in.
Step 6: Carefully follow the instructions of the sound card manufacturer to install the sound drivers.
Update Corrupt Drivers
Static noise on headphones may be caused by corrupt drivers or outdated drivers.
Follow the following step to fix the problem.
Pro Tip: Make a backup of your registry before making registry changes as any improper value editing can mess up your computer.
- Press the Windows key + R. Type ‘regedit’. This will trigger the opening of the registry editor. If a prompt appears, click ‘yes’.
- Go to the part of the registry which has the following: “Computer\HKEY__LOCAL_MACHINE\SYSTEM\CurrentControlSet\Control\Class\{36fc9e60-c465-11cf-8056-444553540000}
- Right click ‘UpperFilters’ located on the right side, and choose DELETE
- Restart the computer after closing on the registry editor.
A Quality Headset
If all of the above fails, it may mean that there is something wrong with your headset. To rule that out, test it on other devices, such as your phone, tablet, or another computer, and check if any feedback noise reoccurs.
In truth, cheap, low-quality headphones tend to produce mediocre sound ridden with feedback. If that is the case, your best bet is to invest in a quality headset to ensure that you are satisfied with the sound output for years to come.
I recommend opting for Bluetooth headphones as there is less likelihood of wires causing the static noise, as discussed above. Alternatively, if you’re wondering how to remove static from a mic, go for a headset with a noise reduction microphone.
Final Thoughts
Finding the source of the static noise in your headphones will likely involve some trial and error. Personally, I tried several tricks listed above before my problem was gone.
The first and the simplest thing to do is to check the devices you already own and clean them thoroughly. If that doesn’t do the trick, you may need to update some of your software or replace your outdated hardware or worn-out listening device.
I sincerely hope I helped you learn how to get rid of static noise in headphones. If this article helped solve your headphone problem, spread the word to others in similar distress by sharing it. Let me know what you think in the comments, and tell me if you know of any other solutions for this issue that also work.


