Building a New Gaming Computer
Building a gaming computer is an exciting challenge whether you are a first-time builder or someone looking to upgrade. This guide will explore essential tools, cases, and components needed for a high-performance gaming PC. We’ll navigate through the installation process, from CPUs to operating systems, aiming to empower you with knowledge for every step. With detailed insights into each component and assembly tips, this blog seeks to demystify the complexities of PC building with clear, approachable language. After reading, you’ll be well-equipped to create a machine tailored to your gaming needs and know how to keep your rig ready for future developments in hardware and software.
Highlights:
In this comprehensive guide, we will walk you through the process of building a gaming PC from scratch. Our focus will begin with the preparatory phases, discussing necessary tools and choosing the ideal PC case for your setup. We’ll then dive into each crucial gaming PC component, exploring their purposes and what to look for when making your selections. Finally, we’ll guide you through the actual assembly, testing, and completion of your new system.
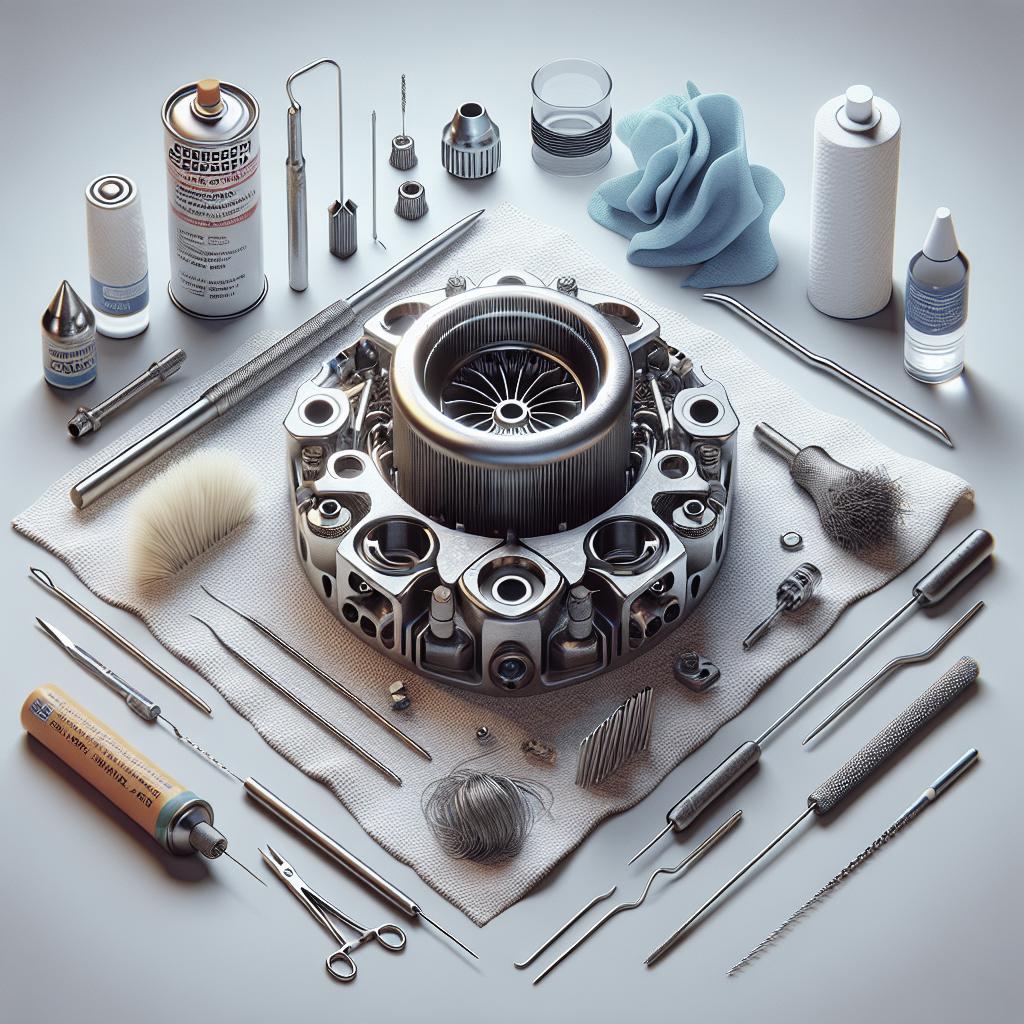
PREP 1: PC Build Tools
Having the right tools on hand is crucial for a smooth PC building experience. Essential items include a Phillips screwdriver, thermal paste, anti-static wrist strap, and cable ties. These tools will help eliminate static electricity, ensure secure connections, and manage cables for a clean interior.
Other useful tools can include a flashlight for visibility inside tight spaces and an organized workstation to keep your components and tools in order. Taking the time to gather these essentials can save time and potential frustration later on in the build process.
PREP 2: Gaming PC Cases
The gaming PC case is more than just an enclosure; it plays a critical role in airflow, component placement, and future upgrades. When selecting a case, consider the size that accommodates your motherboard and other parts comfortably. Popular case sizes include full tower, mid-tower, and mini-ITX cases, which cater to different preferences and space limitations.
A good case also offers room for airflow and additional cooling solutions, such as fan mounts and radiator spaces, to maintain optimal operating temperatures. Cases with cable management options and dust filters can also enhance the overall build quality and longevity of your system.
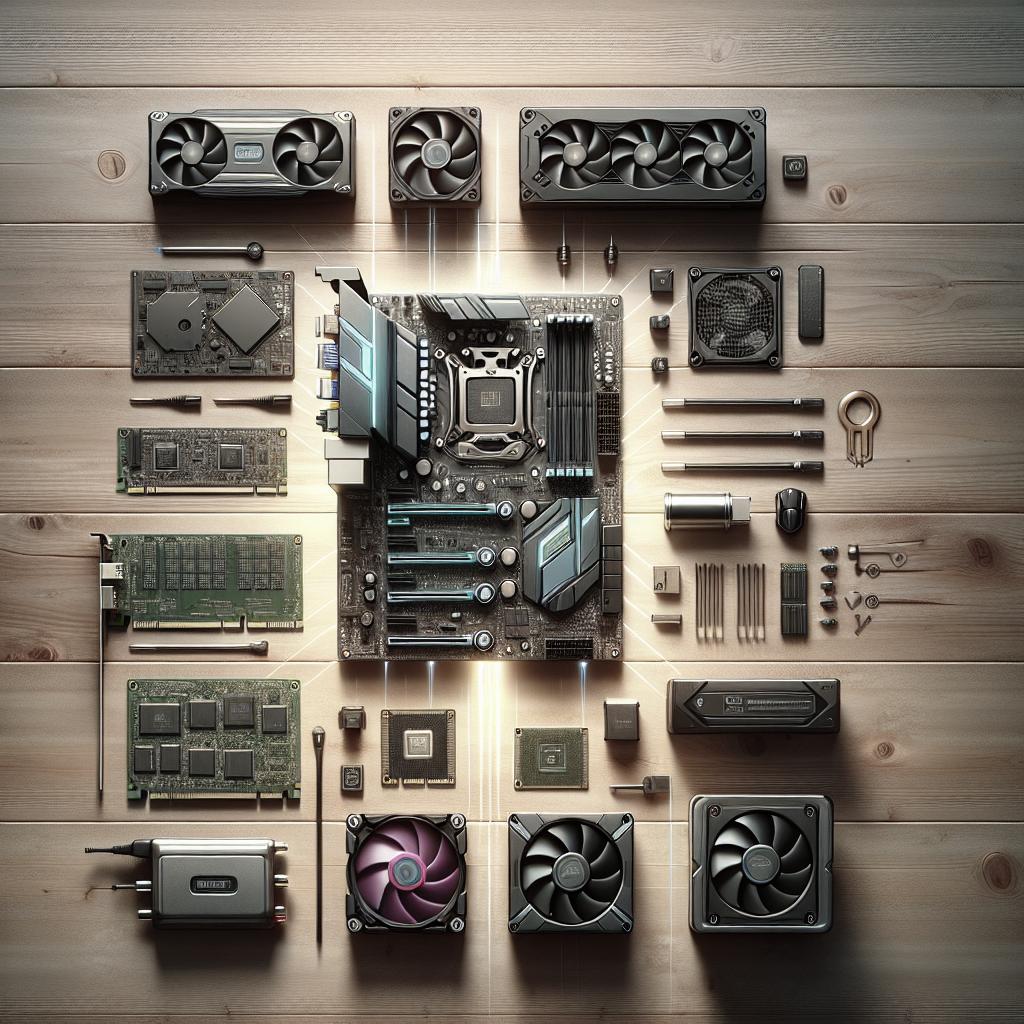
PREP 3: Gaming PC Parts
Central Processing Unit (CPU)
Your CPU is the brain of your computer, executing commands, and processing data critical for gaming performance. When choosing a CPU, consider factors such as core count and clock speeds, as these determine your system’s capability to handle complex tasks and multitasking.
High-performing CPUs from brands like AMD and Intel can significantly influence gameplay smoothness and responsiveness. Ensure your chosen CPU is compatible with your motherboard, which we’ll explore further in our motherboard section.
Graphics Processing Unit (GPU)
The GPU is the powerhouse behind your gaming visuals, processing the intense graphical demands of modern games. When selecting a GPU, focus on its memory capacity (in GB) and core clock speed to ensure you achieve the desired visual performance and frame rates.
Leading options from NVIDIA and AMD cater to different budgets and gaming needs. Ensure the GPU physically fits within your case and pairs well with your CPU to avoid bottlenecks in performance.
Motherboard
Your motherboard is the central hub that connects all components, so choosing the right one ensures compatibility and functionality. Factor in the processor socket type, form factor, and chipset features when selecting a motherboard.
Motherboards also provide additional slots and ports for expanding functionality, such as PCIe slots for GPUs, RAM slots for future upgrades, and USB ports for peripherals. An investment in a quality motherboard can facilitate easier upgrades over time.
Memory (RAM)
RAM is crucial for ensuring smooth game performance and multitasking capabilities. Most gaming PCs will benefit from at least 16GB of RAM, though some high-end systems might require 32GB or more for optimal performance.
Consider the RAM’s speed, measured in MHz, alongside its capacity. Faster RAM can improve system responsiveness and load times for both gaming and non-gaming applications.
Storage: Solid-State Drives (SSDs), Hard Disk Drives (HDDs)
Storage needs can vary depending on your personal gaming library size and speed requirements. SSDs offer fast load times and responsiveness, making them ideal for installing your operating system and frequently played games.
HDDs, meanwhile, offer larger storage capacity at a lower cost, useful for holding game libraries and media collections. Many builders opt for a combination of both to balance speed and capacity.
Power Supply Unit (PSU)
The PSU provides crucial energy needed to run your gaming PC. Choosing a reliable unit with sufficient wattage ensures your system remains stable, even under demanding conditions.
It’s beneficial to select a PSU with an efficiency rating of 80 Plus Bronze or higher, and modular options can simplify cable management inside your case. Always opt for reputable brands to avoid potential power issues.
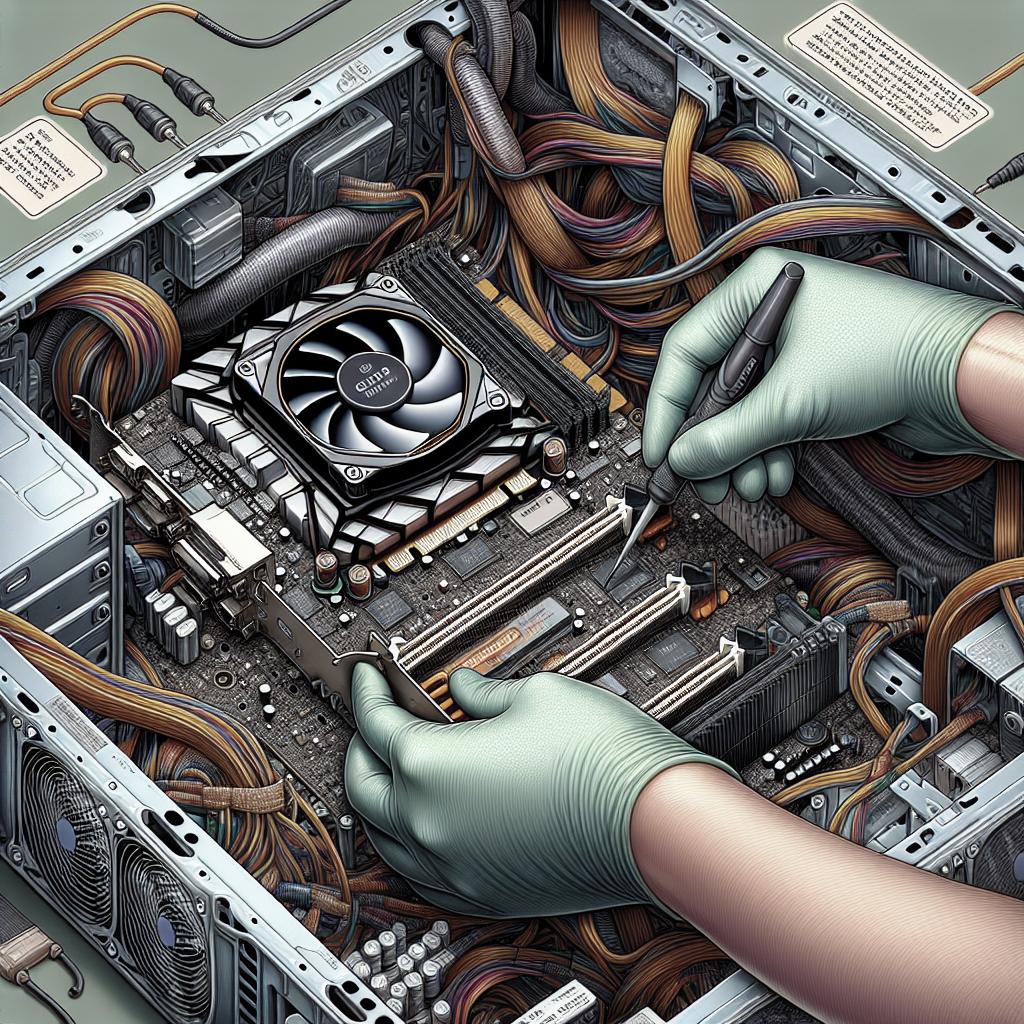
System Cooling: CPU Cooling and Chassis Airflow
Effective cooling strategies keep your components working efficiently and extend their lifespan. CPU coolers come in air and liquid variants, each suited to different cooling needs and case constraints.
Beyond the CPU, focus on maintaining proper airflow within your case. Position fans strategically to enhance intake and exhaust paths, preventing component overheating during intense gaming sessions.
Peripherals
Gaming peripherals, including monitors, keyboards, and mice, complete your gaming setup. When selecting these peripherals, consider factors like display resolution, refresh rates for monitors, and ergonomic design for extended use.
High-quality audio equipment and additional accessories like controllers or VR headsets might also enhance your gaming experience further.
Operating System (OS)
Your OS is the software interface for all user interactions on your PC. Windows is the prevalent choice for gaming due to its compatibility with a wide array of games and software applications.
Other OS options like Linux are available, though they may offer limited gaming support. Ensure you have the installation media and keys ready when setting up your system.
STEP 1: Install CPU
Begin your physical build by installing the CPU into the motherboard. Ensure you’re grounded to prevent static damage and handle the CPU with care. Align the CPU with the socket by matching the indicator triangle with the corresponding mark on the socket.
Carefully close the socket lever to secure the CPU, ensuring it’s seated correctly. Using unnecessary force can result in damage to both the CPU and the socket.
STEP 2: (Optional) Install M.2 SSDs
If your build includes M.2 SSDs, now is a convenient time to install them. M.2 slots are often located on the motherboard, allowing for neat installations without additional cables.
Insert the M.2 SSD into its slot at an angle and secure it with the provided screw. M.2 drives offer quick data transfer speeds, enhancing system performance and load times.
STEP 3: Install CPU Cooling
Follow CPU installation with your chosen cooling solution, whether air or liquid. For air coolers, smear a thin layer of thermal paste onto the CPU before mounting the cooler.
Liquid coolers may require you to pre-assemble radiators and fans before attaching them. Secure everything tightly, ensuring the cooler has good contact with the CPU for effective heat dissipation.
STEP 4: Install Memory (RAM)
Next, install your memory modules into the motherboard’s RAM slots. Slots are often color-coded to indicate optimal dual-channel configurations, so consult your motherboard’s manual if unsure.
Firmly press each RAM stick into place until you hear a click, verifying they’re fully seated for proper functionality without future troubleshooting.
STEP 5: (Optional) Do a Test Run Outside the Case
Before mounting components in the case, consider a test run on an antistatic surface to check for basic functionality. This step can isolate issues early on, facilitating simpler troubleshooting.
Connect just the essentials, such as CPU, RAM, and GPU, and power the board to confirm system POST. Rectify any visible errors before proceeding with the installation into the case.
STEP 6: Mount the Power Supply
With testing complete, mount your PSU in the case’s allocated space, typically at the bottom or top section. Secure tightly to minimize movement during system operation.
Route power cables through designated ports to maintain a tidy build appearance and avoid obstructing airflow within the case.
STEP 7: Install Motherboard
Now it’s time to mount the motherboard into the case. Slide the I/O shield into place, then carefully position the motherboard on top of the standoff screws.
Align the motherboard with pre-installed standoffs and secure with screws. Ensure all external ports are accessible through the I/O shield and that the motherboard is not bending or flexing.
STEP 8: Install GPU
Next, install your GPU into a suitable PCIe slot on the motherboard. Usually, the topmost slot is recommended for the best performance output.
Press the GPU firmly but carefully into the slot and secure it with screws provided in the case. Connect necessary power cables from the PSU to the GPU, ensuring a stable power supply.
STEP 9: Install Storage
Finally, install your chosen storage solutions, SSDs, and HDDs, into available bays or mounts in the case. Connect storage devices to the motherboard using SATA cables and provide power through PSU cables.
Arrange cabling for minimal clutter, enhancing airflow and ease of access. Secure drives as per case instructions, ensuring stable operation without vibrations or extra noise.
STEP 10: Install Operating System
With all hardware in place, power on your system and access the BIOS to configure boot priorities. Insert your OS installation media and follow instructions to install your operating system.
Once the OS is installed, proceed to install essential drivers and update the system to ensure optimal performance and compatibility with your hardware setup.
It Doesn’t End Here
Your new gaming rig is now operational, but the process doesn’t stop there. It’s essential to periodically check for updates on drivers and consider future hardware upgrades as technology evolves.
Engage in regular system maintenance by cleaning out dust and ensuring components remain cool and effective. Staying informed about new advancements in gaming technology can keep your build competitive in the ever-changing world of PC gaming.
Learn More
How to Choose a Gaming CPU
When selecting a CPU, balance core and thread count against clock speed to fit your gaming requirements. Stay updated with the latest technology from leading brands like AMD and Intel for compatibility and performance advancements.
How to Choose a Gaming Motherboard
The choice of a motherboard should be guided by compatibility with your chosen CPU, the number of expansion slots, and additional features like Wi-Fi capabilities and enhanced audio solutions, catering to your specific uses and upgrades.
How to Choose RAM for a Gaming PC
Choose RAM with a balance of speed and capacity that meets your game playing demands. Consider future-proofing to some extent, but keep in line with your budget and actual gaming needs.
Lessons Learned
| Step | Action | Key Points |
|---|---|---|
| Highlights | Overview of PC Building | Emphasizes preparation and understanding components |
| Prep 1 | Gather Tools | Essentials include Phillips screwdriver and anti-static strap |
| Prep 2 | Choose a Case | Consider size, airflow, and aesthetics for future upgrades |
| Prep 3 | Select Components | Balance performance needs and budget constraints |
| Steps 1-10 | Assembly Process | Careful insertion, testing, and OS installation are essential |
| Learn More | Component Selection | Thorough considerations for informed decisions |