How to Clean and Unclog Your 3D Printer Nozzle
A 3D printer is an amazing tool that opens up new possibilities for creation and innovation. However, like any machine, it requires regular maintenance to function optimally. One of the most common issues faced by 3D printing enthusiasts is a clogged nozzle, which can negatively impact print quality and lead to more significant hardware problems if left unresolved. This blog post provides a detailed guide to maintaining your 3D printer nozzle, covering essential tools and methods to ensure smooth operation. Whether you’re a seasoned maker or a newcomer to the world of 3D printing, these step-by-step instructions will help you keep your nozzle clean and unclogged, ultimately extending the life of your printer and improving your overall experience.
How to Maintain Your 3D Printer Nozzle
Regular maintenance of your 3D printer nozzle is crucial for ensuring that your prints come out with precision and accuracy. By routinely checking and cleaning your nozzle, you can prevent clogs that disrupt your workflow and lead to flawed creations. Maintenance involves not only cleaning but also checking for wear and tear, which can indicate that it’s time for a replacement.
Preventive care extends the life of your nozzle and by extension, your printer, and reduces the number of filaments wasted due to clogs and poor extrusion. Moreover, a clean nozzle ensures consistent filament flow, which is essential for high-quality prints with precise details and smooth surfaces.
What You Need to Have
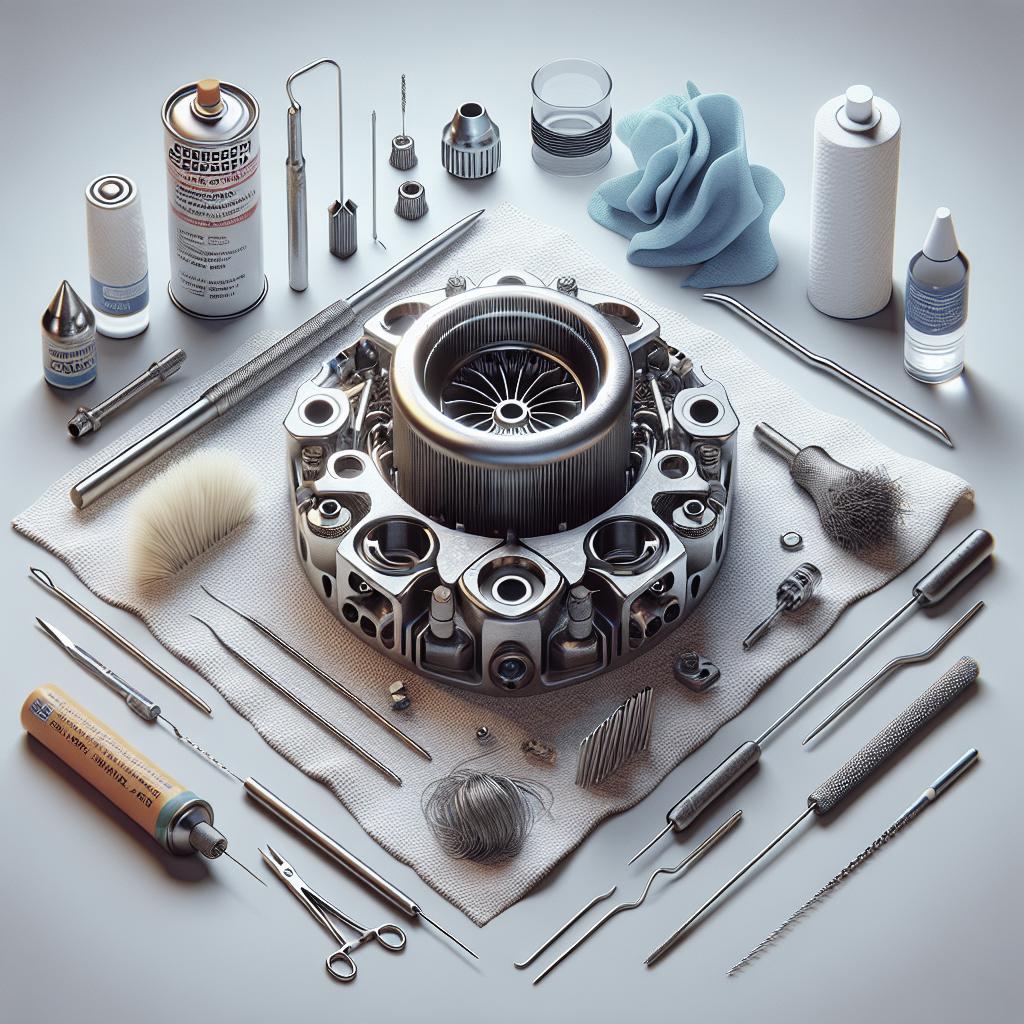
To clean your 3D printer nozzle effectively, you’ll need a few essential tools and materials. A set of nozzle cleaning needles or fine wire can help remove minor blockages and debris. For more stubborn clogs or maintenance, brass brushes are ideal for scrubbing the surface without damaging the nozzle.
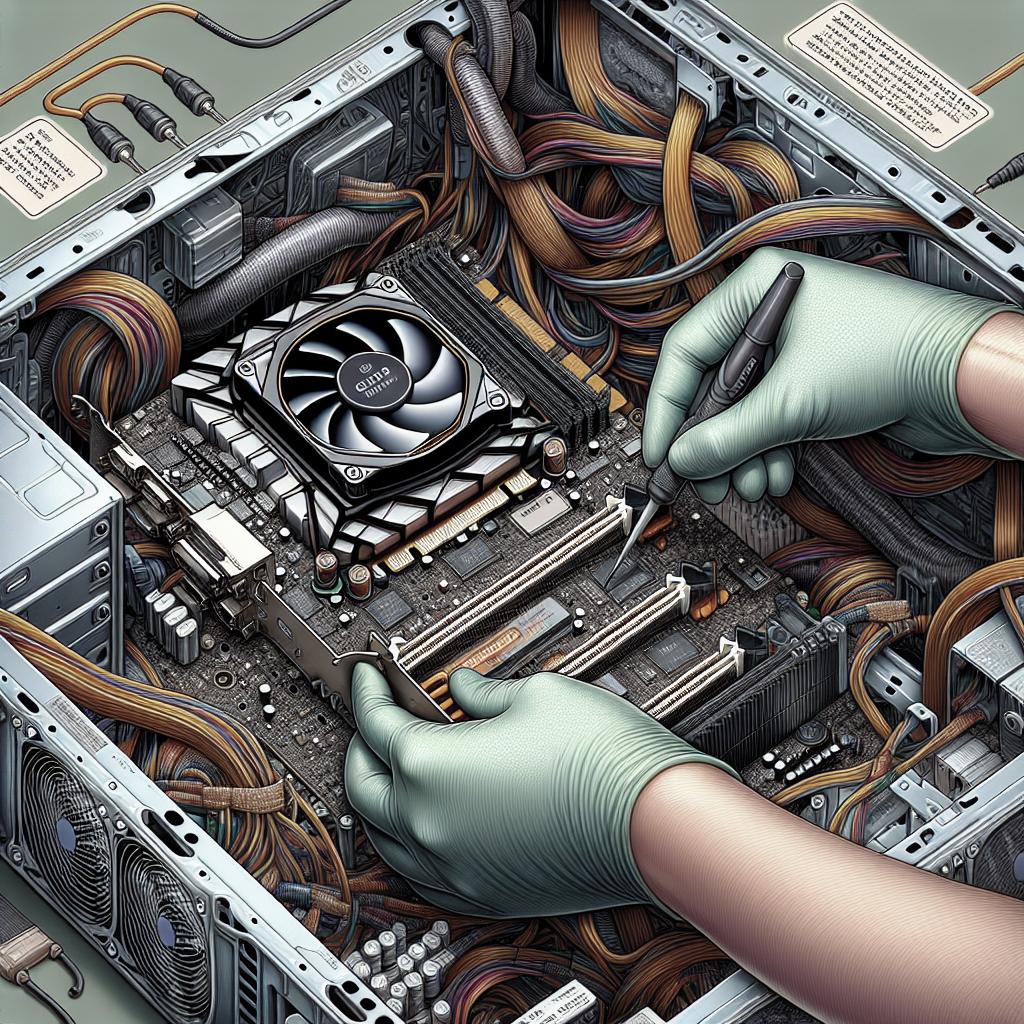
Additionally, having a pair of pliers and a spanner or wrench can be useful for removing the nozzle if a more thorough cleaning or soaking is necessary. For those using the cold pull method, it’s important to have the appropriate cleaning filament or nylon filament on hand. Finally, maintaining safety with gloves and eyewear is always a prudent choice when engaging in any form of printer maintenance.
Inspect the Nozzle and Remove Any Visible Debris
Start by inspecting your nozzle closely for any visible debris or filament residues. This can usually be seen at the nozzle’s tip and the exit hole. Using a magnifying glass can help you identify smaller obstructions that may not be evident to the naked eye. Identifying these issues early can prevent more severe blockages from forming.
Use a nozzle cleaning needle to gently remove any visible debris. Carefully insert the needle into the nozzle and move it around to dislodge the blockage. Be gentle to avoid damaging the nozzle’s interior surface. Following this, use a fine wire or brush to clean the nozzle’s exterior. Regular cleaning at this stage often negates the need for more intensive methods later on.
Using the Cold Pull Method to Clean the Nozzle
The cold pull method, also known as the “atomic pull,” is a technique used to clear out residual material inside the nozzle. To start, load the cleaning filament and heat the nozzle to the right temperature for your specific filament type. Once the filament is melted, lower the temperature until the filament becomes rubbery but not hardened.
At this point, manually pull the filament out of the printer’s nozzle. The aim is to “pull” away any particles or debris that are causing the clog. This method may need to be repeated several times until no debris appears on the cleaning filament when pulled out. It’s a straightforward yet effective technique and particularly beneficial for dealing with stubborn clogs.
Remove and Soak the Nozzle
If cleaning attempts have failed to rid the nozzle of clogs, removing the nozzle for a thorough soak might be necessary. Warm up the nozzle slightly to make unscrewing it easier but be cautious of high temperatures. Use a spanner or a wrench to carefully detach the nozzle from the printer head.
Once removed, soak the nozzle in a cleaning solution, such as acetone or isopropyl alcohol, to dissolve any lingering plastic residues. Soaking times may vary depending on the severity of the clog and the type of material used. After soaking, scrub the nozzle using a soft brush or cloth, and once it’s clean, rinse and dry it thoroughly before reattachment.
Stay On the Cutting Edge: Get the Tom’s Hardware Newsletter
Staying informed about the latest 3D printing techniques and technologies is invaluable. Subscribing to resources like Tom’s Hardware newsletter is an excellent way to keep up with cutting-edge advancements in the 3D printing world. You’ll receive insights into industry trends, printer reviews, and maintenance tips that will help you stay ahead of the curve.
With regular updates, you can adapt and modify your maintenance techniques to meet the evolving challenges and innovations in 3D printing, ensuring that your practices are current and effective. This not only improves your skills but also enhances the quality and efficiency of your printing projects.
Related Tutorials
Mastering 3D printer maintenance goes beyond just cleaning the nozzle. There are numerous tutorials available that cover a wide array of topics, from bed leveling to filament selection. These can be invaluable resources for enhancing your technical expertise and expanding your understanding of printer components.
Engaging with community forums and tutorials can provide practical insights and solutions from other 3D printer enthusiasts who may have faced challenges similar to your own. By learning new techniques and troubleshooting tips, you can significantly augment your capabilities in managing and maintaining various printer models.
Next Steps
| Step | Action |
|---|---|
| 1 | Regular Inspection of the Nozzle |
| 2 | Use Cleaning Tools like Needles and Brushes |
| 3 | Apply the Cold Pull Method |
| 4 | Remove and Soak the Nozzle if Necessary |
| 5 | Stay Updated with Newsletters and Tutorials |